Old oil paint has a talent for looking perfectly innocent right up until a new water-based coat starts peeling off it like a sunburn. That is why painting over oil-based paint is less about buying a “magic” primer and more about doing a little detective work first. Identify the coating, check whether the old layers are actually sound, clean away years of hand oils and grime, and only then decide how much deglossing or bonding help the surface needs.
There is one checkpoint that belongs ahead of the sandpaper in older Ontario homes: lead. Health Canada says homes built before 1960 probably contain lead-based paint, while homes built from 1960 to 1990 may still contain it, particularly outside and sometimes on interior surfaces. If lead is possible, routine sanding or aggressive scraping is not a harmless prep step. Health Canada warns that disturbing lead paint can create hazardous dust and fumes.
Start With the Test, Not the Guess
Gloss is a clue, not proof. Old alkyd enamel is often hard and shiny, but decades of cleaning can dull it. Modern water-based coatings can also be glossy. Instead of guessing from appearance, use the alcohol-rag test supported by current paint-manufacturer guidance.
For a related next step, read How to Prepare Walls for Painting in an Older Toronto Home.
- Pick a small area that will not be noticeable.
- Clean obvious dirt from the spot.
- Moisten a clean white rag or cotton pad with denatured alcohol.
- Rub the paint firmly for several seconds.
- If colour softens or transfers to the rag, the coating is likely latex or another water-based finish.
- If the film stays hard and the alcohol mainly cleans it, the coating is likely oil or alkyd.
Sherwin-Williams and Glidden both publish versions of this test. A dish-soap test, which still wanders around the internet like an old painting myth that refuses to move out, is not the manufacturer-supported identification method. Soap can help with cleaning. It does not reliably tell you what resin is on the wall.
Before You Scuff Anything, Ask How Old the Paint Might Be
Oil enamel was widely used on older doors, trim, railings, windows and other hard-wearing surfaces, so age matters. Health Canada currently says a home built before 1960 probably contains lead-based paint. Homes built between 1960 and 1990 may still contain lead, especially on exterior coatings, and some interior layers may contain lower levels.
If the age or coating history puts lead in the picture, have the paint assessed before sanding. Health Canada notes that sound lead paint can sometimes be left undisturbed and covered, while sanding, scraping, burning or using heat can release dangerous contamination. That is a very different project from scuffing a known modern alkyd door.
For current guidance, see Health Canada’s lead-based paint information.
The Old Film Has to Earn the Right to Stay
Once the paint type and lead risk are understood, test the coating itself. Primer is only as dependable as the layer underneath it.
Look for peeling, cracking, blistering, water damage, rust on metal, soft wood, brittle caulking and previous latex that scratches off the old oil film. Try a few discreet adhesion checks on suspect areas. If several layers lift easily, adding another coat simply creates a nicer-looking sandwich with a weak bottom slice.
A sound old oil film can often remain. A failing one needs to be dealt with safely before a new system goes on top.
Clean the Places Hands Have Been Polishing for Years
Doors, banisters, baseboards and kitchen trim collect more than dust. Skin oils, cooking grease, furniture polish, aerosol cleaners and silicone-containing products can leave contamination that interferes with adhesion. A bonding primer is not a substitute for cleaning.
Use a cleaning method appropriate for the substrate and the new coating system, rinse away residue where required and allow the surface to dry. Give special attention to door edges, handrails, cabinet-adjacent trim, window sills and the first few feet of stair rails. These are the locations most likely to have been touched ten thousand times and cleaned with six different products nobody remembers buying.
Two Good Routes From Oil to Water-Based Paint
Current Sherwin-Williams guidance supports two general ways to put a compatible latex or acrylic coating over sound oil paint.
Route A: Clean, dull the gloss, then topcoat
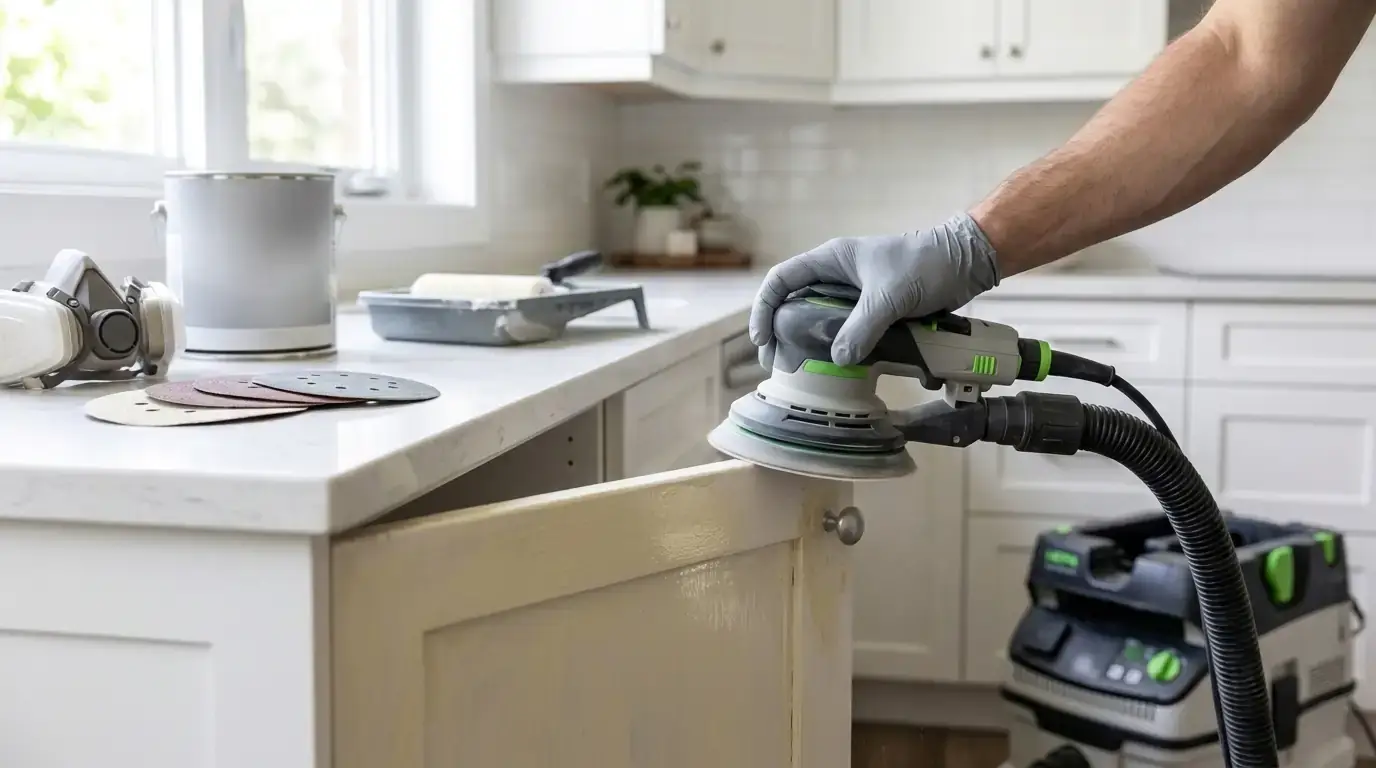
When the coating is known to be safe to abrade and the selected topcoat allows it, light scuff sanding can remove the slick surface and create mechanical tooth. The aim is usually to dull the sheen, not excavate the door back to 1974. Remove all sanding dust before painting.
Route B: Clean, use an adhesion primer, then topcoat
A current high-adhesion primer can be useful on hard, glossy or difficult surfaces. Benjamin Moore Canada’s INSL-X Stix is a current waterborne bonding primer designed for hard-to-coat substrates, including glossy paint. The manufacturer lists a 3 to 4 hour recoat time under stated conditions and says it can be topcoated with many compatible coating types.
Rust-Oleum Canada also currently lists Zinsser Bulls Eye 1-2-3 as a water-based bonding primer for many difficult surfaces. Where stain blocking or a different substrate problem is involved, an oil-base primer such as current Zinsser Cover Stain may serve a different purpose.
These are examples of primer categories, not a shopping list that makes one product mandatory. The right primer depends on adhesion, staining, substrate, previous coating and the finish you intend to apply.
No-Sanding Primer Does Not Mean No-Prep Painting
Some bonding primers are marketed for strong adhesion with little or no sanding on suitable surfaces. That does not give permission to prime over grease, wax, loose paint, mildew, silicone residue or damp material. Benjamin Moore’s current Stix guidance still calls for surfaces to be clean, dry, sound and free of contaminants.
The no-sanding claim is about how the primer bonds to a difficult but suitable substrate. It is not a waiver for every other preparation step.
When Previous Latex Is Already Peeling, Stop Adding Layers
One common version of painting over old oil paint Ontario homeowners run into is a door or trim package where someone already applied water-based paint and it now scratches off in sheets.
Before repainting, work out which layer is failing. The cause may be a dirty oil surface, excessive gloss, no adhesion primer where one was needed, a weak old oil layer, moisture or silicone contamination. If the loose latex can be lifted in multiple areas, another coat of finish paint will not suddenly make the bond underneath improve.
Remove or stabilize the failed material using a method appropriate for the substrate and lead risk, then rebuild the coating system from a sound layer. In an older home, pause before sanding or scraping until lead has been ruled out.
Doors and Trim Deserve a Tougher Adhesion Standard
A wall can get away with a lot that a door cannot. Doors, frames, railings and baseboards are touched, bumped, washed and rubbed constantly. If there is one place to do a small adhesion test before committing to a whole repaint, glossy trim is it.
A practical assessment for known sound, non-lead trim is:
- identify the old coating
- check that it is firmly bonded
- clean oils and contamination
- repair dents, open joints and failed caulking
- degloss safely if the selected system calls for it
- remove dust
- use a compatible bonding or problem-solving primer where required
- apply a durable trim or enamel finish designed for the service level
Give the topcoat the full dry, recoat and service time specified by its manufacturer. A finish can feel dry before it is ready for sticky weatherstripping, repeated handling or aggressive cleaning.
Primer Has One Job It Cannot Do: Hold Loose Paint Together
A high-adhesion primer improves the bond between a sound substrate and the next coating. It does not repair rotted wood, active leaks, rust that has not been prepared, greasy surfaces or old paint that is already letting go.
That distinction is worth repeating because “just prime it” is one of the most expensive cheap fixes in repainting. If the lower layer fails, the fancy primer attached to it leaves with it.
Do a Small Test Before You Commit the Whole Room
On difficult glossy surfaces, prepare and coat a discreet test area using the exact proposed system. After it has dried and developed the required adhesion, inspect it closely. Look for pulling, beading, scratching, stain bleed, missed gloss and weak edges around old chips.
A small test is especially useful when the coating history is uncertain. Finding out that the system needs a different primer on six square inches is much nicer than learning it after six doors.
Walls, Trim and Cabinets Do Not Deserve the Same Prep Assumption
Where the oil paint is located changes the risk of adhesion failure. A broad plaster wall that is sound and rarely touched may be a relatively forgiving repaint. A kitchen door, stair rail or baseboard is a much harsher test because hands, cleaners and impacts keep working on the coating after the painter leaves.
On walls, check for old patching, chalking, water stains and whether the paint is genuinely glossy or simply washable. On trim, focus more heavily on hand oils, cleaning residue, caulk joints and repeated abrasion. On cabinets, the substrate and existing finish matter enough that the project should be treated as cabinet refinishing rather than ordinary wall painting.
This is also where primer selection can split. A bonding primer chosen for slick trim may not be the same primer used to block a water stain on plaster. One product can have several useful properties, but it is better to name the problem first: adhesion, staining, tannin, corrosion, porosity or colour change. Then choose the primer that actually solves it.
Do Not Confuse Adhesion With Cure
A coating can bond well and still be vulnerable if it is put into hard service too quickly. Doors can stick to weatherstripping, shelves can block against painted supports, and handrails can mark before the finish has developed full hardness.
After the topcoat is applied, follow its current instructions for recoat time and return to service. Avoid aggressive cleaning, tape, furniture contact or repeated handling until the coating is ready for that use. Good adhesion gets the finish onto the surface. Proper cure is what helps it stay presentable once real life starts touching it.
Oil-to-Latex Questions Homeowners Actually Ask
Can latex paint go over oil-based paint?
Yes, when the old oil coating is sound and properly prepared. Current Sherwin-Williams guidance supports cleaning and sanding before a compatible latex finish, or cleaning and using an adhesion primer before the topcoat.
How do I know if the old paint is oil based?
Use a manufacturer-supported alcohol-rag test on a clean, inconspicuous spot. Water-based coatings tend to soften or transfer; oil or alkyd usually remains hard.
Does dish soap identify oil paint?
No reliable current manufacturer guidance found for this article uses dish soap as the identification test. Use alcohol for paint-type testing and soap or another suitable cleaner for cleaning when appropriate.
Do I always need a bonding primer?
No. Some sound oil surfaces can be cleaned, safely dulled and directly recoated with a compatible finish. Bonding primer is useful when the surface or coating system calls for extra adhesion.
Can I sand every old oil-painted door before repainting?
Not without considering lead. Health Canada warns against sanding suspected lead paint. Check the home’s age and coating history first.
What if the newer latex layer is already peeling?
Do not bury it. Determine which layer is failing, remove or stabilize loose material safely, correct contamination or moisture problems, and rebuild from a sound surface.
The Reliable Shortcut Is Doing the Diagnosis First
The dependable way to handle painting over oil-based paint is not complicated, but the order matters: identify the coating, consider lead before abrasion, keep only sound layers, clean thoroughly, use safe deglossing or a suitable bonding primer where needed, then apply a compatible finish. Skipping the diagnosis is what usually creates the “why is my new paint peeling?” sequel nobody wanted.
For broader wall and trim preparation, see interior painting in Toronto.
If an older painted surface needs to be assessed before repainting, you can Request a Free Quote through PaintersInToronto.ca from one licensed and insured independent painting company. Any service agreement is directly with that independent contractor. Call (647) 532-9046 and Ask for SUNNY, or use the contact page.